


How To Measure For Replacement Windows?
Measuring for replacement windows is more than a technical step—it’s the foundation of a successful installation. Even a minor error can lead to drafts, leaks, operational difficulties, or the need to reorder expensive windows. Proper measurement ensures that your new windows not only fit perfectly but also provide energy efficiency, security, and aesthetic appeal.
“Whether you are a homeowner handling the project yourself or preparing to hire a professional, understanding how to measure for replacement windows accurately can save time, money, and frustration. This guide walks you through the essential tools, proven techniques, and professional methods needed to achieve precise measurements and ensure a perfect fit.”
| Step | Measurement Focus | Tools Needed | Key Notes |
| 1 | Width | Steel tape measure, level | Measure at the top, middle, and bottom; record the smallest measurement |
| 2 | Height | Steel tape measure, level | Measure left, center, right; use the smallest value for accuracy |
| 3 | Squareness | Tape measure, square | Measure diagonally (top-left to bottom-right and vice versa) |
| 4 | Depth | Tape measure | Measure interior trim to exterior stop; ensure minimum frame depth |
| 5 | Frame Condition | Flashlight, level | Inspect for rot, warping, and water damage before ordering |
| 6 | Professional Techniques | Labels, notepad | Record all measurements clearly; check manufacturer allowances; account for shims |
Understanding Replacement Windows
Replacement vs. New Construction Windows
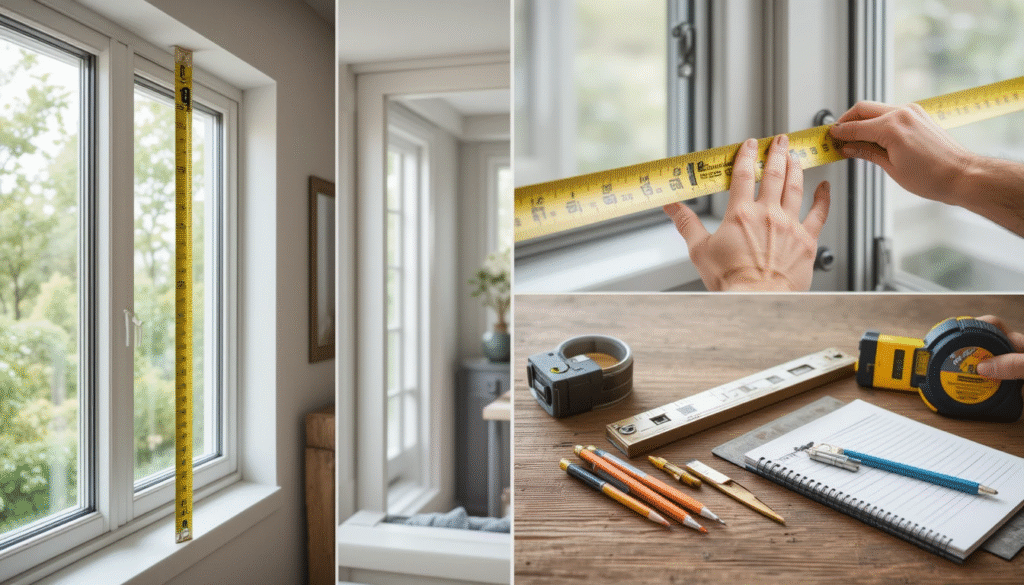
Unlike new-construction windows that are installed directly into wall studs, replacement windows fit into existing frames. This makes installation faster and less invasive but demands higher measurement accuracy.
Why Frame Condition Matters
Older frames may have warped, shifted, or experienced moisture damage over time. Measuring accurately accounts for these irregularities, ensuring your new window fits without forcing or gaps.
Essential Tools for Accurate Measurement
Proper tools are essential for precise results. Professionals typically use:
- Steel measuring tape – for consistent, accurate readings.
- Carpenter’s level – to ensure the frame is plumb.
- Square or straightedge – to check corners for squareness.
- Notepad or smartphone app – to record measurements immediately.
- Flashlight – helpful in dark or recessed areas, such as window frames.
Using these tools minimizes errors. Always measure in inches and round down to the nearest 1/8 inch, as a slightly smaller window can be shimmed for a perfect fit.
Measuring Window Dimensions
Width: Step One
The width must be measured at three points: the top, middle, and bottom of the frame. Record the smallest measurement—this ensures the window fits even at the narrowest point.
Height: Step Two
Height is measured from the sill to the top of the inside frame at three points: left, center, and right. Again, use the smallest value to prevent the window from being too tall for the opening.
Squareness: Step Three
Measure diagonally from top left to bottom right and top right to bottom left. If the diagonals differ by more than 1/4 inch, the frame is not square, and adjustments may be needed with shims or additional carpentry.
Depth: Step Four
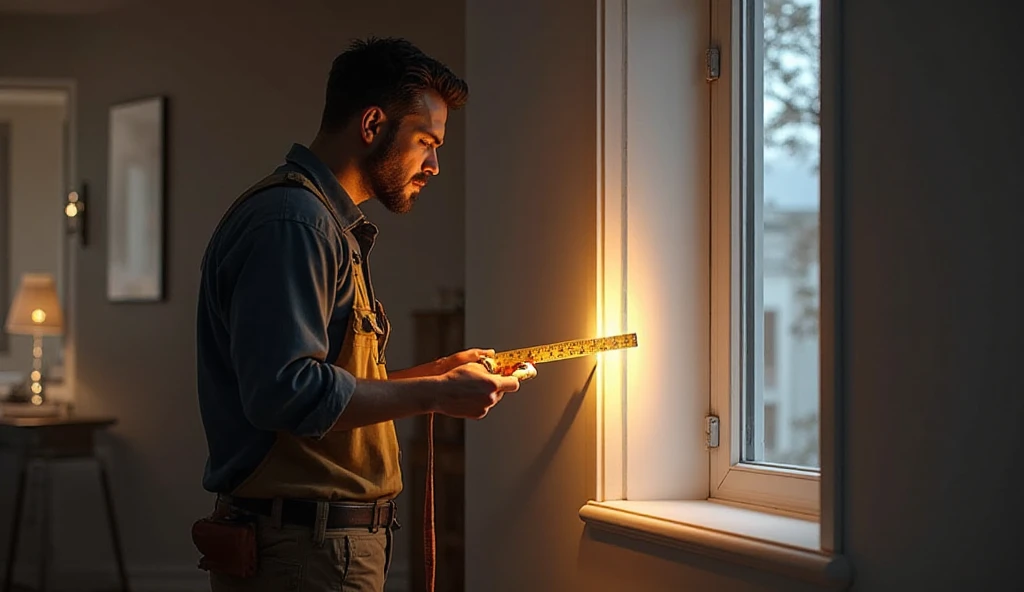
Measure from the interior trim to the exterior stop. Standard replacement windows usually require at least 3 ¼ inches of depth. While measuring, inspect the frame for any rot, warping, or water damage, as these conditions can affect the fit.
Professional Techniques for Accurate Measurement
Experts follow specific rules to ensure precision:
- Smallest of three rule – take multiple measurements and record the smallest.
- Label each measurement clearly to avoid confusion when ordering.
- Check manufacturer guidelines for necessary allowances or clearances.
- Account for shims and insulation to ensure proper window operation and sealing.
These methods reduce errors and make the installation process smoother.
Standard Window Measurement Checklist
| Measurement Type | Number of Points | What to Record | Why It Matters |
| Width | Top, Middle, Bottom | Smallest value | Ensures fit at the narrowest point |
| Height | Left, Center, Right | Smallest value | Prevents the window from being too tall |
| Diagonal | Two corners | Compare values | Checks frame squareness |
| Depth | Interior to exterior | Actual depth | Confirms compatibility with replacement window |
Common Mistakes to Avoid
Measurement Mistakes
- Measuring the old window rather than the opening.
- Ignoring diagonal measurements for squareness.
- Rounding up instead of rounding down.
Frame Assessment Mistakes
- Neglecting to check depth.
- Ignoring rot, warping, or water damage.
- Assuming all windows in the house are identical.
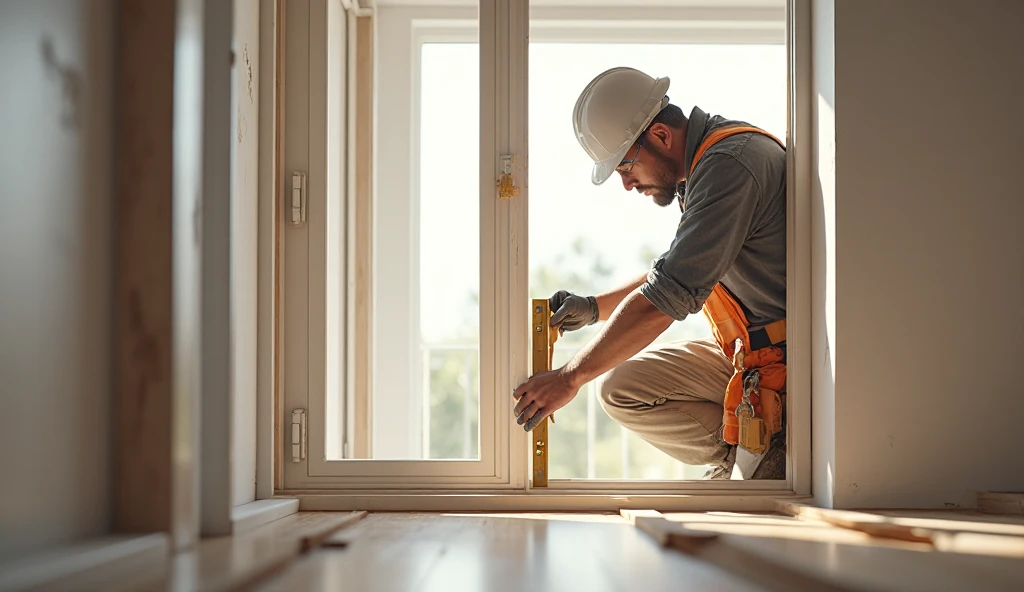
Correcting these mistakes before ordering ensures your windows fit perfectly on the first try.
When to Hire a Professional
When it comes to measuring for replacement windows, certain situations call for professional expertise. Older homes often feature warped or irregular frames, making precise measurements crucial. Custom-shaped windows, such as arched, bow, or bay designs, require specialized skills to ensure a proper fit. Additionally, severely damaged frames or those with rot can complicate the measurement process, necessitating the expertise of a professional.
Upper-story or hard-to-reach windows present safety concerns that further emphasize the need for expert assistance. By opting for professional measurement services, homeowners can benefit from guaranteed, accurate sizing, which prevents costly reorders and installation delays. This ensures peace of mind, knowing that the measurements are ready for installation and explicitly tailored to the unique needs of the home.
Benefits of Accurate Window Measurement
Operational Benefits
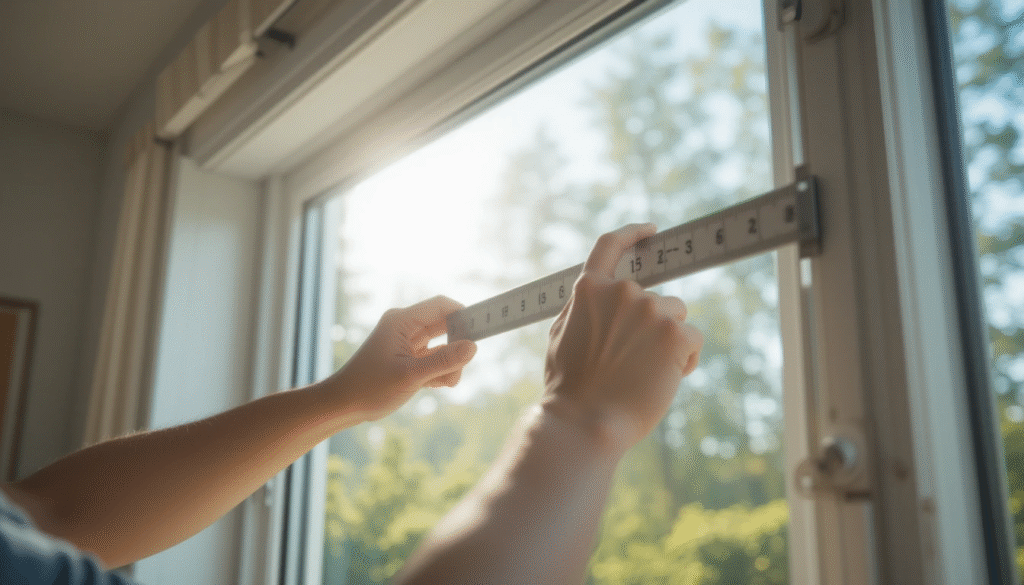
- Windows open and close smoothly.
- Proper sealing prevents drafts and leaks.
- Energy efficiency is maximized.
Long-Term Benefits
- Protects your home from water damage.
- Improves aesthetic appearance and resale value.
- Reduces risk of additional repairs or adjustments.
Conclusion
Accurate measurement is the cornerstone of successful replacement window installation. By using the right tools, following professional techniques, and double-checking every dimension, homeowners can ensure that their new windows fit perfectly, operate efficiently, and enhance the beauty and value of their property. Proper measurement is an investment that pays off with smooth installation, energy savings, and long-lasting satisfaction.
If you want to read an interesting article about it, explore our “Home Improvement” category.
FAQs
Professional measurement is advisable for older homes with warped frames, custom-shaped windows, severely damaged frames, or upper-story windows that are hard to reach safely.
Hiring a professional guarantees accurate sizing, prevents costly reorders, and provides peace of mind with installation-ready measurements, ensuring a smooth replacement process.
Yes, you can measure your windows yourself if you have the right tools and techniques. However, for complex or high-risk situations, it’s recommended to consult a professional.
Common mistakes include relying on outdated measurements, neglecting to measure the depth, omitting the smallest measurement, and failing to use a level to ensure straight lines.